1. Press a transition button to select the transition you want to use.
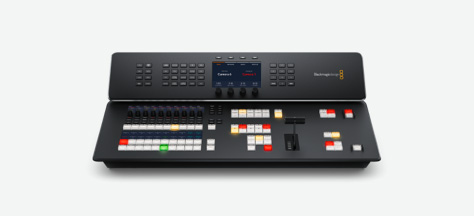
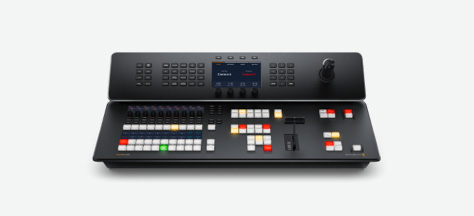
With ATEM Television Studio it's easy to get started with live streaming and multi camera video production! This section will show you how to connect and set up an ATEM Television Studio so you can create your first live stream! ATEM Television Studio is a compact broadcast switcher that lets you switch 8 x SDI video sources and the output looks like a regular USB webcam that you can even connect to Zoom calls with live video. ATEM Television Studios built in control panel has all the controls you need to make switching programs easy. Plus, the ATEM Software Control is used to gain access to more features, enter streaming details and upload media into the media pool.
Find ResellerSetting up your ATEM Television Studio

The first step is to plug in the power supply using an IEC power cable. You can also use a standard 12V broadcast power supply. That's great if you want to run the switcher from a battery power supply, or for backup power.
Next it’s a good idea to plug in some monitoring, so connect a monitor to the multiview HDMI output. Connecting the monitor means you can see all your sources as you plug in cameras! You can use ATEM Software Control to customize the views.
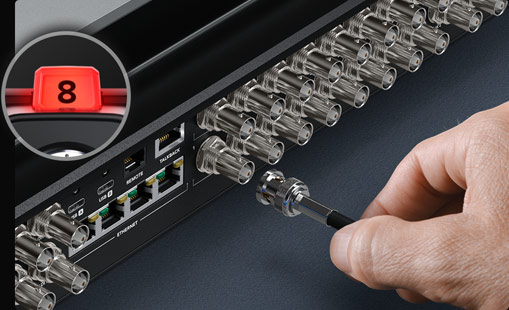
Next, plug your cameras into the ATEM Television Studio SDI inputs. This gives you up to 8 different video sources to switch between when creating your show! All inputs have standards converters so you don't need to worry about video settings.
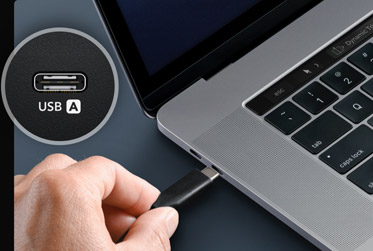
Let’s connect a computer to the USB to check the main program output. You can use Zoom or Skype and be sure to select Blackmagic Design as the video and audio sources in the software settings. Live video should appear and you can make calls!

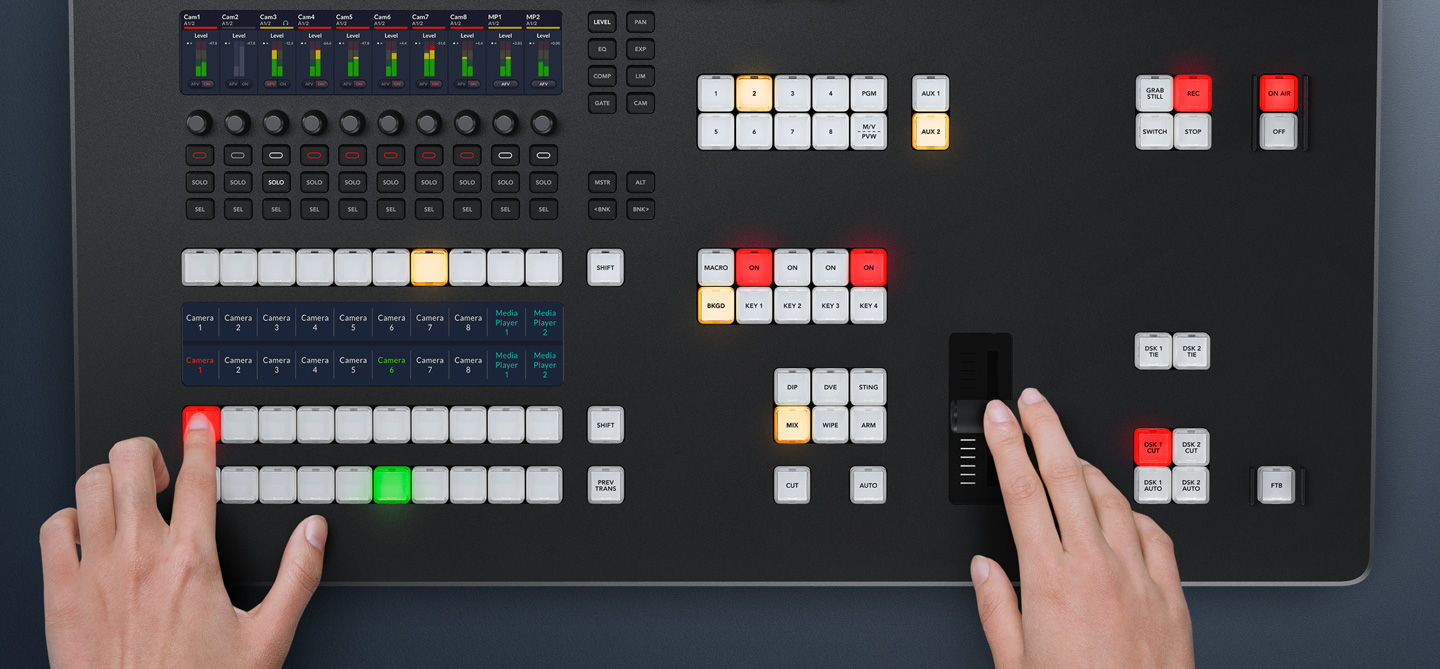
Now that you have your cameras connected, you can start switching your program! It’s as easy as just pressing the program buttons below the LCD labels to switch between sources. You can see the sources cut instantly as you press the buttons. However a better way to switch is to use the preview row below the program row, so you can select a source to check it before you bring it on air. These preview sources highlight green when selected. Now when you want to do a transition with a nice video effect, you can use the t-bar manually or press the auto button. You can choose between mix, dip, DVE and wipes transitions. You can really customize the transitions, add borders and other effects!

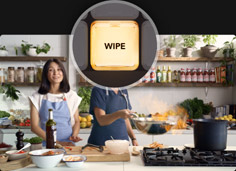
Before creating your first program, it’s worth thinking about the type of transitions available. From a creative point of view, a mix transition can feel very elegant as it gradually fades from one source into the next, while slower mix transitions can feel dreamy and gentle. A wipe transition will move a line across the original source revealing the next source and it has a different feel depending on the amount of soft edge you set in the wipe parameters. You can even set a wipe with a border that uses a color or even live video! DVE transitions are a lot of fun and they move the whole image during the transition, so they can feel crazy and exciting, making them perfect for kids shows!
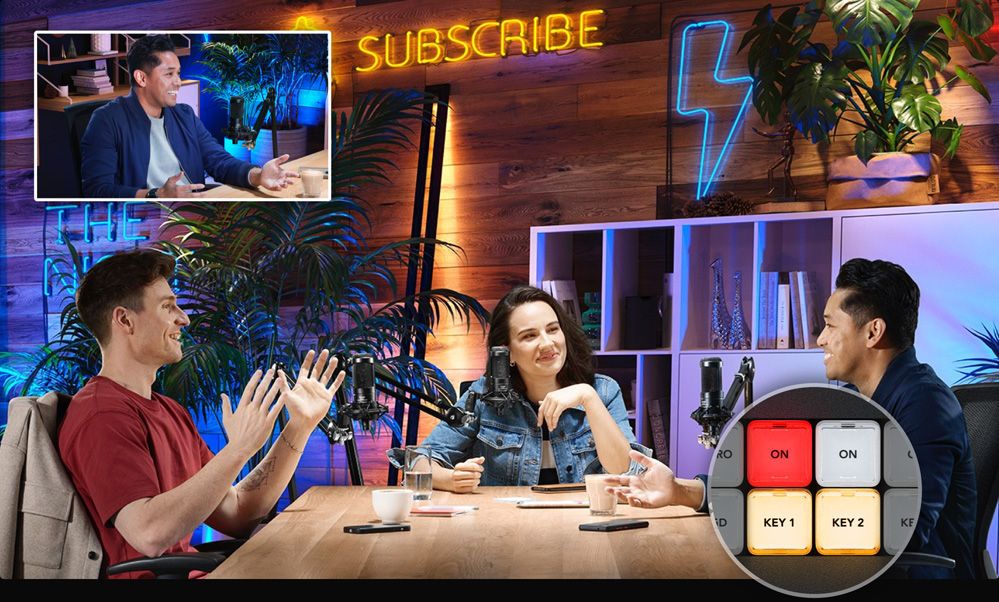
Picture in picture superimposes a video in a small box that you can position and customize over your main source. To do this you use the digital video effects processor, or DVE. The DVE uses input 1 for its default source, but you can change it to any camera. If you're broadcasting an interview, then the interviewee could be full screen while the interviewer can be the DVE source and positioned as a picture in picture effect. To enable picture in picture you need to set the DVE into the keyer. It's best to use one of the upstream keyers. You can adjust the position of the DVE using the system control menus. You can set the position, borders and the light source.
If you need to narrate or add commentary to your production, you can use the talkback microphone or connect an ATEM Microphone Converter into the MADI input. The levels can be set on the system control for all MADI inputs, plus you can even add EQ, audio compression or noise gate to the MADI inputs. But first you need to enable the MADI input by selecting banking to the MADI input on the audio mixer LCD and pushing the button to turn on the audio as a source. This gives you a lot of flexibility and you can even daisy chain more ATEM Microphone Converters. There are many types of microphones available, such as desktop mics or wireless collar microphones allowing the presenter to move around.
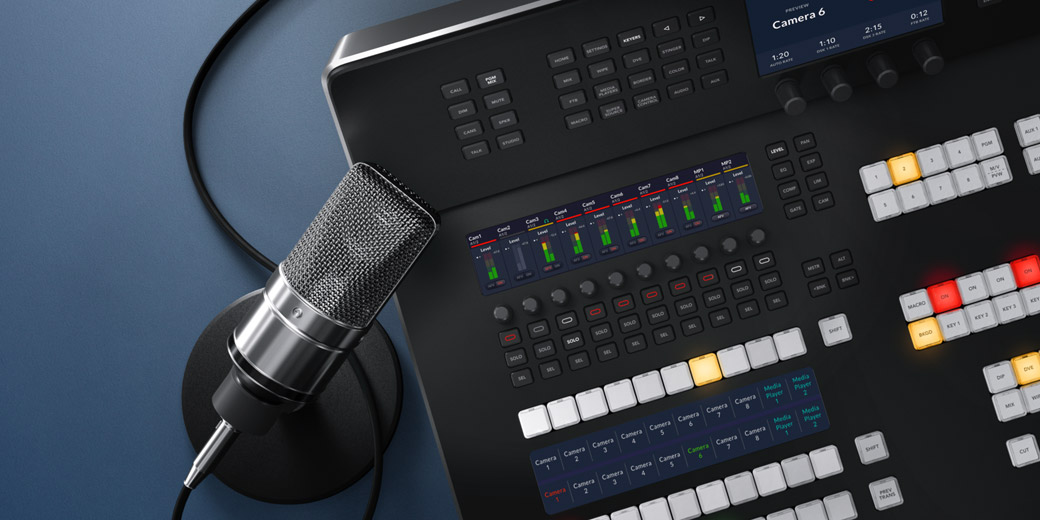
If you really want to access all the power of your ATEM Television Studio, then you can run ATEM Software Control and get access to additional features. There are pages that let you run the switcher and palettes that have settings for every feature in the switcher. There are also pages in the software for changing settings, uploading and managing graphics, mixing audio and controlling cameras. To get started, just plug your Mac or PC into the USB connection of the ATEM Television Studio and then run the software. You can also connect via Ethernet if you want to run more than one copy of the software, and have someone else managing media or audio mixing.
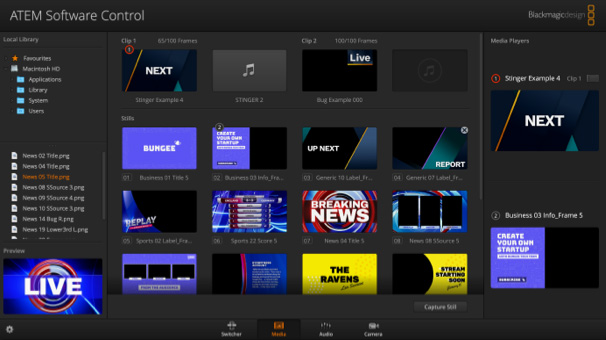
Adjust switcher settings, make live cuts, adjust keys, apply transitions, overlay graphics and more.

Upload RGBA still images and motion graphics clips. Graphics can be used for titles, bugs, lower thirds and more!
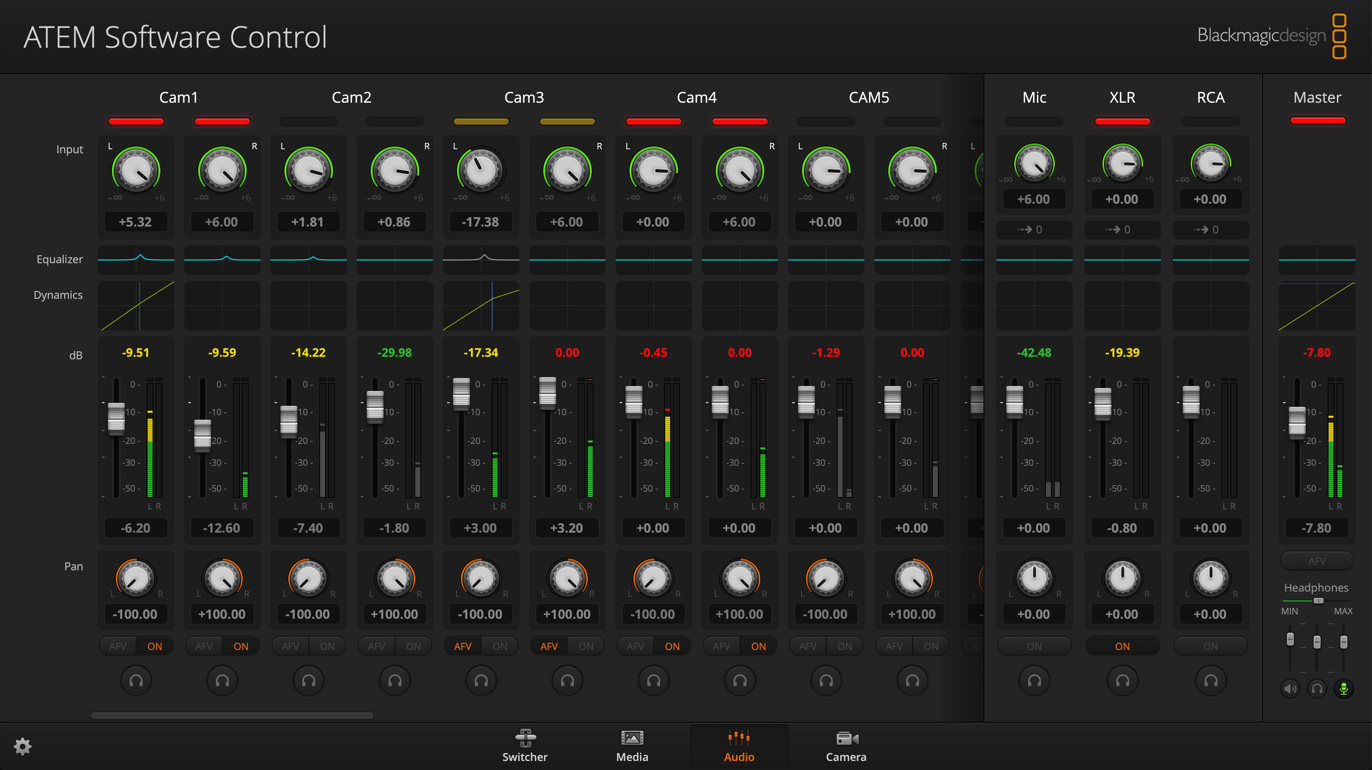
Professional 12 channel Fairlight audio mixer with faders, 6 band EQ, compressor, limiter and much more!
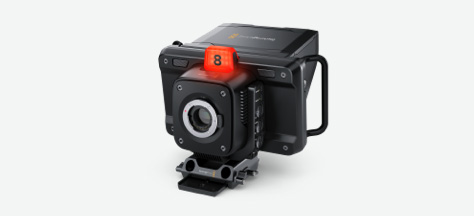
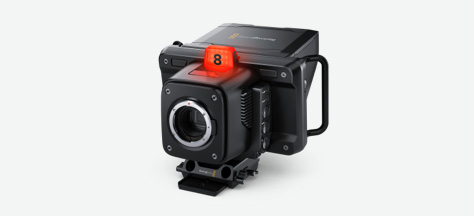
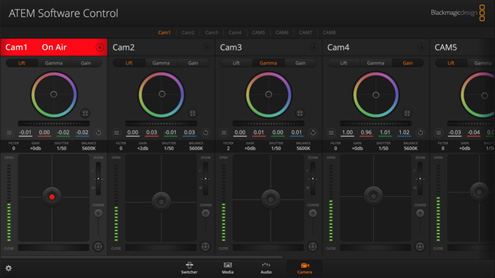
Control and color correct cameras via the SDI connection to any Blackmagic Studio Camera or URSA Broadcast.
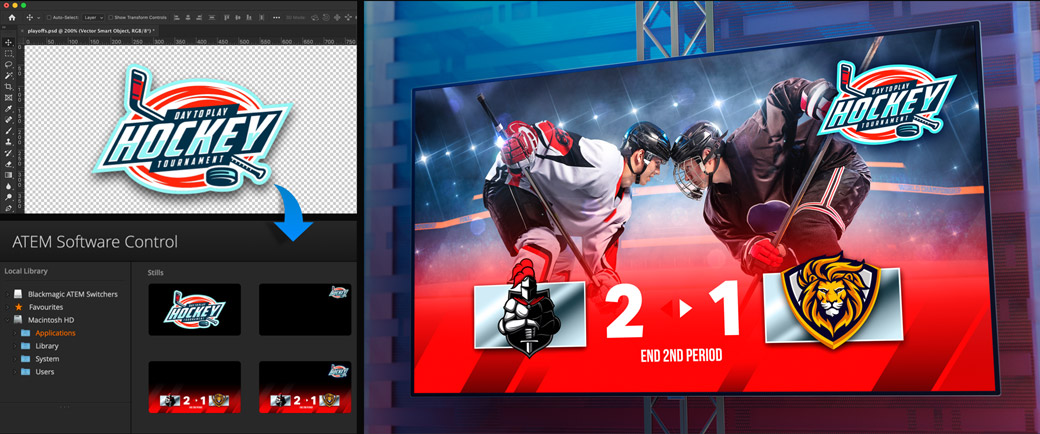
You can use any software to create titles for ATEM Television Studio! If the graphic has an alpha channel, ATEM will output the alpha as a key channel to allow graphics layering. Graphics with alpha channels can be created in software such as Photoshop. To use a still graphic, simply drag and drop it into one of the positions in the media pool in ATEM Software Control. Now go to the keyer settings in the switcher page, where you will need to set the media player source to be the still you just loaded. Then in the keyer settings, select the video and key sources to be the media player. Now turn on the keyer and you'll get professional titles overlaid in real time on your live video.
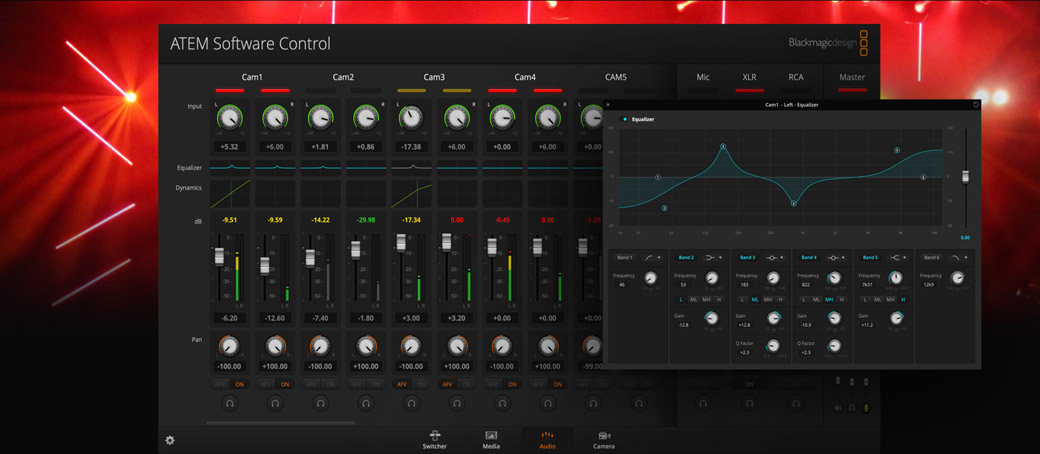
You can create professional mastered audio using the built in Fairlight audio mixer using either the control panel or ATEM Software Control. The software features a virtual audio panel where you can click and drag the mixer faders for adjusting the sound levels. If a music player is connected to the HiFi inputs, then there are also faders for the external XLR and MADI sources. If you want to go even further, you can add EQ, audio compression and limiting to tailor the sound of presenters to get them sounding clear and to keep the audio levels under control. Just click above the fader to open the effects windows, or select EQ, COMP, GATE on the audio mixer area of the control panel.
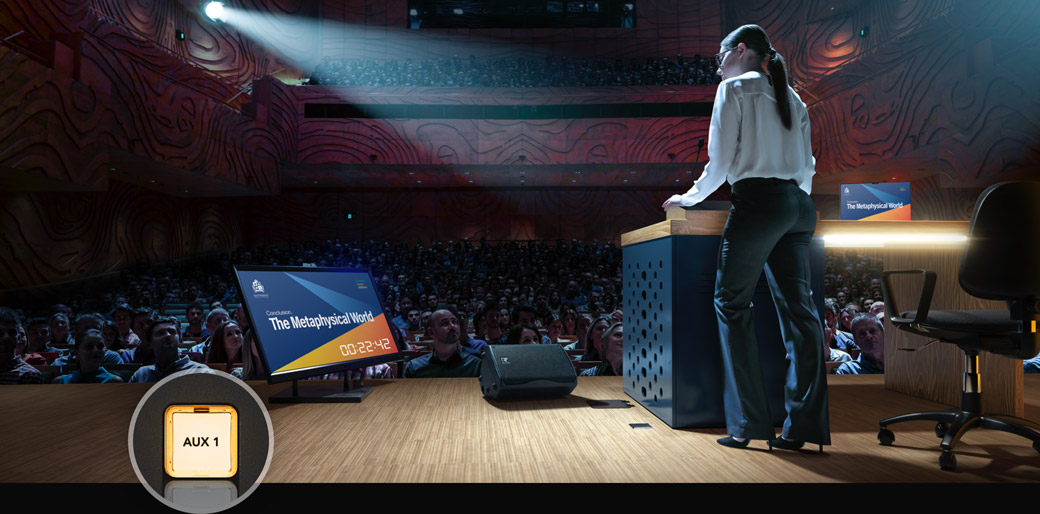
You don't just have the main program output of the ATEM Television Studio, as you also have 2 independent aux outputs. Aux outputs are great for driving big screens or video walls on stage. Aux 1 also includes a counter overlay which you can enable so that aux 1 can be connected to a presenter monitor and the presenter can see how long they have been talking. Plus you can live switch the aux output directly from dedicated buttons on the control panel. There are also output menus in ATEM Software Control with even more sources. You can even select the aux between multiview and preview using a button on the panel, so the aux output becomes a great solution for local monitoring.
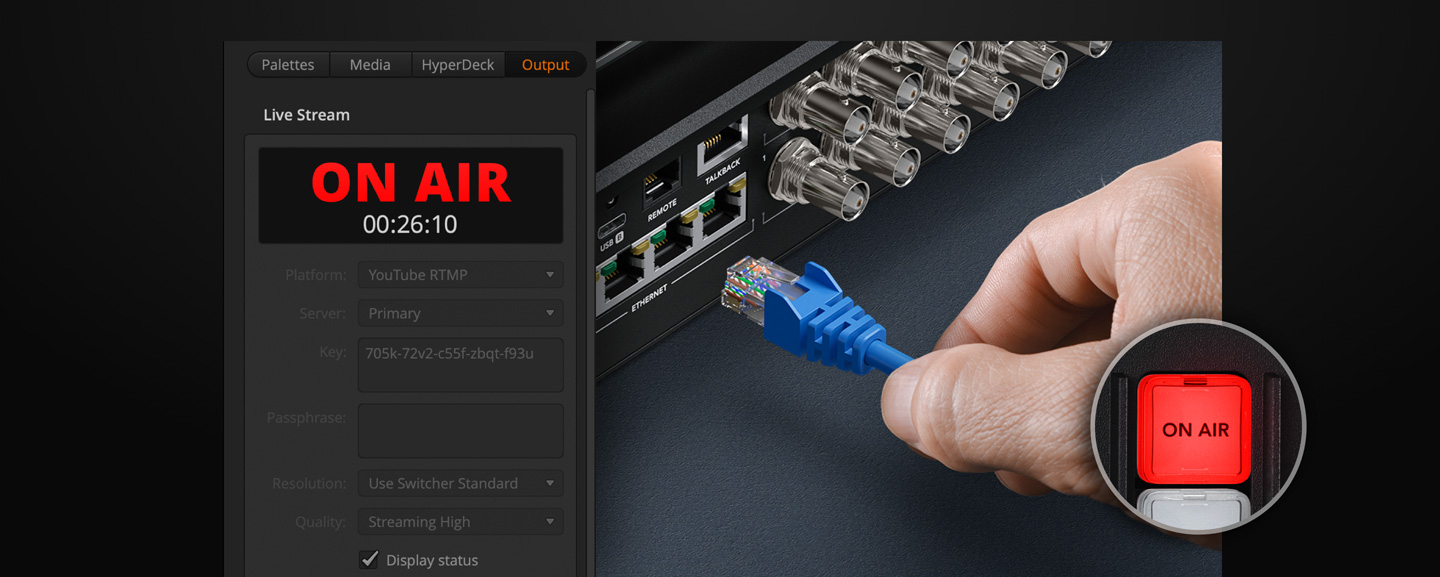
If you're live streaming then you can stream using Ethernet or via a mobile phone connected to the USB port. Once you have connected Ethernet to the internet, you will need to get a streaming key from the streaming service. In the ATEM Software Control switcher page select the streaming service you want to use from the streaming palette, and the server you want to use that’s closest to your location, and then enter the streaming key. Generally select Streaming High for the quality, unless you have speed limited internet access. Now press the on-air button on the panel and you should see your program video live on your streaming service. You can even monitor streaming status on the multiview!
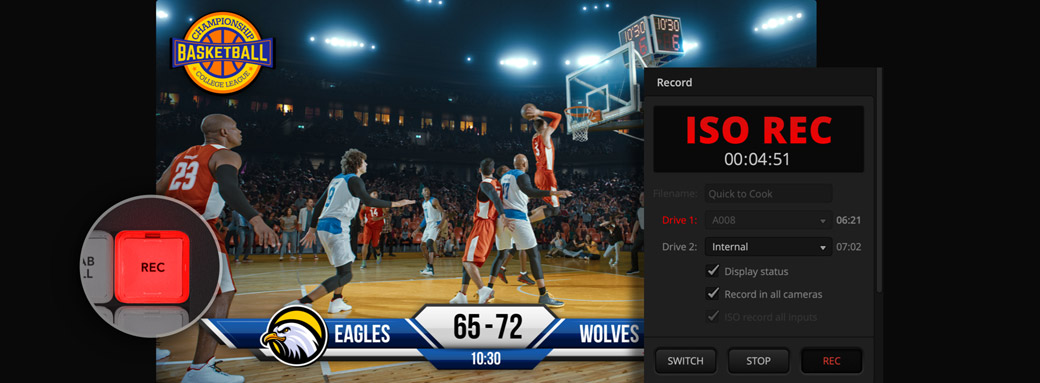
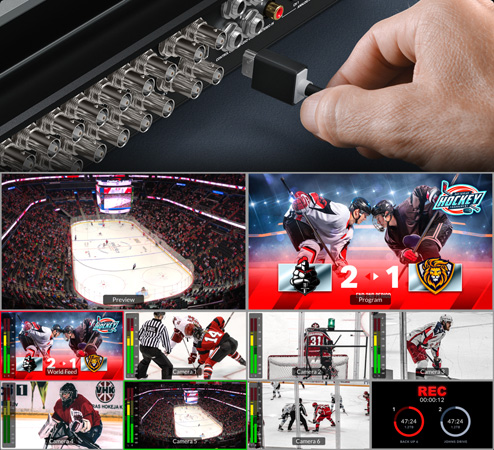
ATEM Television Studio includes built in recording features so you don't need to connect an external recorder. All you need to do is connect a USB flash disk and then press record on the front panel! However if your dealer has installed an internal M.2 flash memory disk, then you can set recording to "internal" and you don't need to use an external disk. To access the internal storage, or USB disks, just connect a computer to the Ethernet and go into the network disks to mount the ATEM Television Studio media via the network. If you have the ISO model, you can record all video inputs and a DaVinci Resolve project file. This can be set in the record palette of ATEM Software Control.
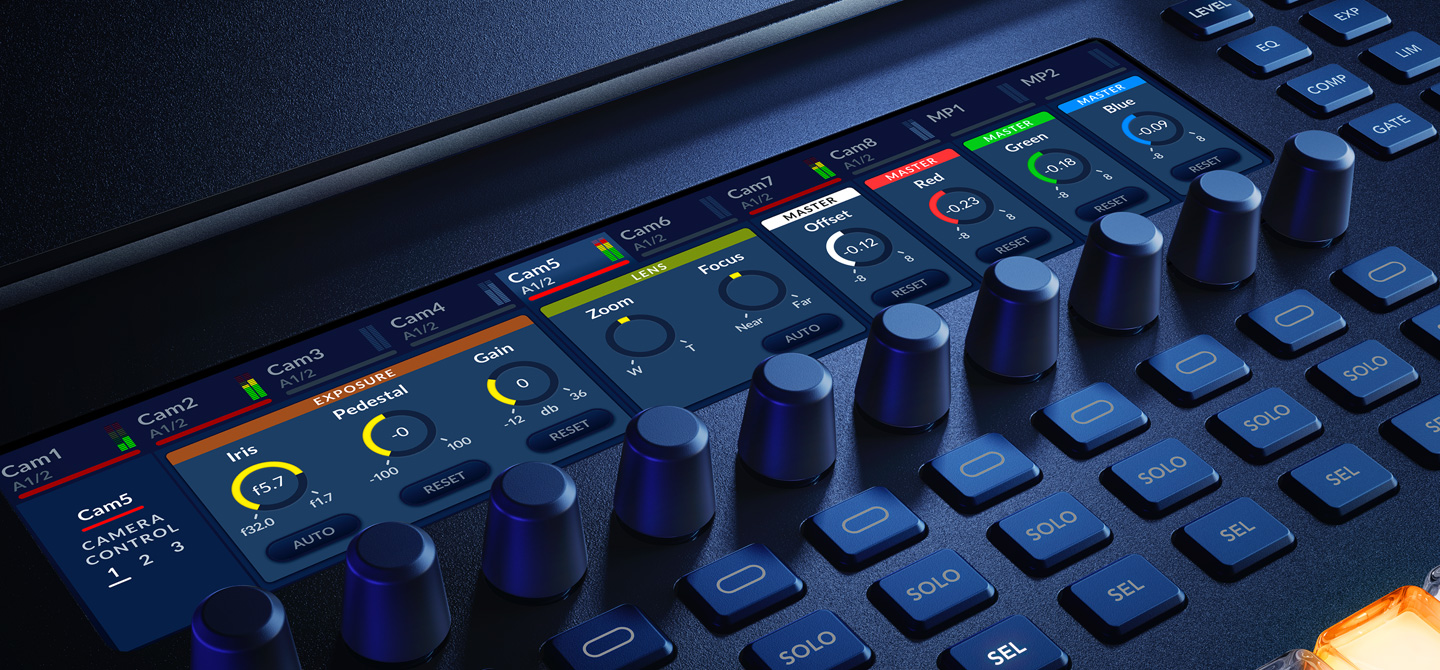
If you have Blackmagic Studio Cameras then you can control them from ATEM Television Studio. Simply connect SDI from one of the switcher program outputs to the camera’s SDI input. Now the switcher can send control, talkback and tally to the cameras! The ATEM Software Control camera page has a CCU style interface where you can adjust your cameras. Move the main CCU control up and down to control the iris. It's the same as a broadcast CCU! There are also controls for color tint to match the cameras. Plus you can set the focus, gain and shutter speed of the camera. You can also do this from the panel by pressing the CAM button next to the audio mixer. The LCD now displays CCU controls!
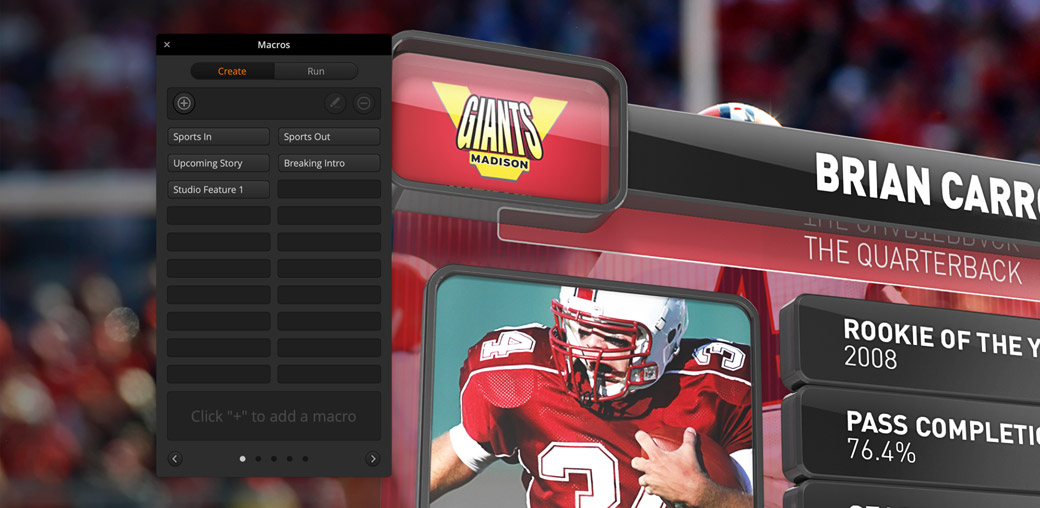
You can also use ATEM Software Control to build macros and trigger them from the front panel. Macros are useful for recording a sequence of switcher actions so you can repeat them with a single click of a mouse. For example you could record a combination of switcher actions that transition between several camera sources, switch a graphic to air, all in one single macro that can then be played at any time. Macros can be as simple or as complex as you want and are extremely powerful when used in a live production. Your actions are automatically stored as an XML file that could be edited together. To use a macro, just press the MACRO button on the panel to see you macros highlighted in blue!