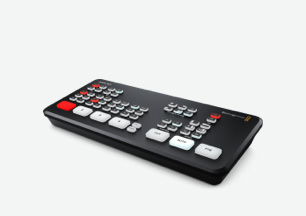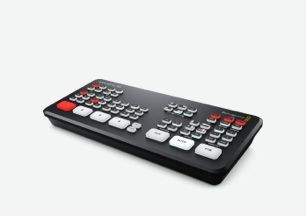
Edit a Live Production!
ATEM SDI Pro ISO and Extreme ISO models have been designed to integrate into DaVinci Resolve so you can spend time making your program absolutely perfect! A DaVinci Resolve project is saved along with separate files for each video input, so the live event can be reconstructed as an edit timeline. Often live production is chaotic and unpredictable, but now you can fix edits and replace shots! You can spend as much time as you need! You can also use skilled artists to help, such as colorists, audio engineers and graphic designers. With the combination of ATEM SDI ISO models and DaVinci Resolve, it’s easy to make quick changes and upload, or major creative enhancements, of your live event!
Find Reseller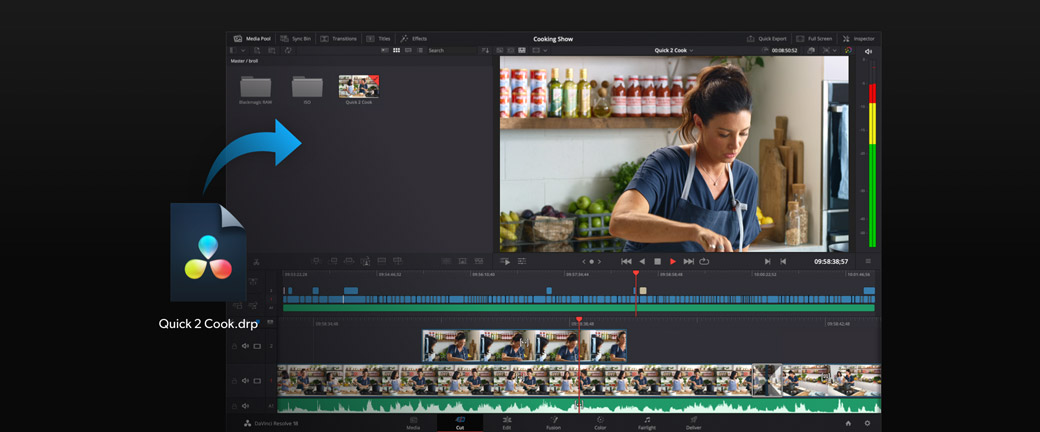
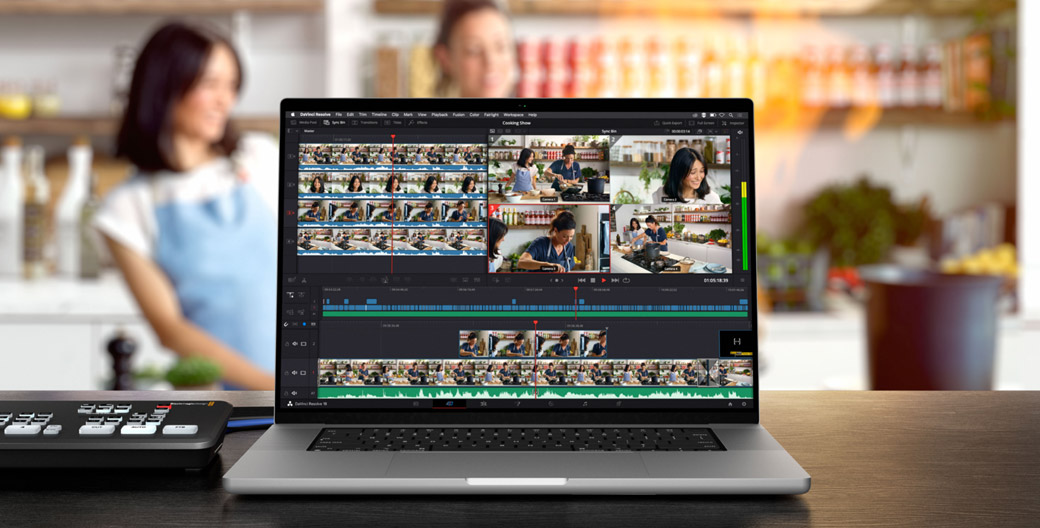
Single Click DaVinci Resolve Edit Timeline
When recording ISO files, you also get a DaVinci Resolve project file with your live production as an edit timeline! This means with a single click, you can open your live event and see it transformed into an edit with all cuts, transitions and media on the timeline. With all the timeline clips linked back to the input "ISO" recordings, you have complete freedom to change edits and replace shots. You also get total freedom to use the editing, color correction and visual effects tools built into DaVinci Resolve. Now live production won't be so unpredictable! Plus there are no delays as it only takes seconds to open the project, adjust a few edits and then render out a new perfect master file.

Roll
Ripple
Slip
Slide
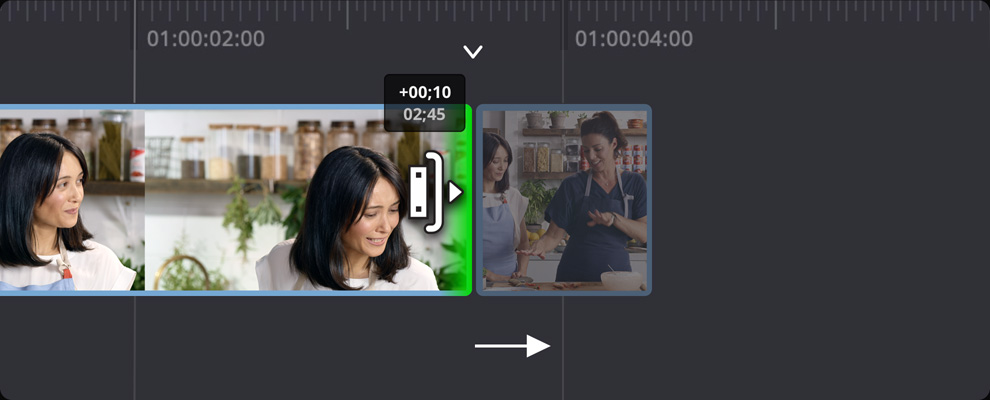
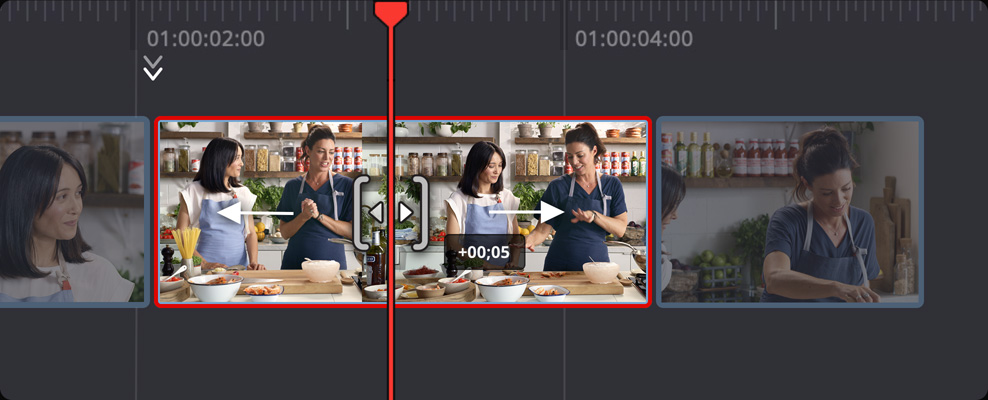
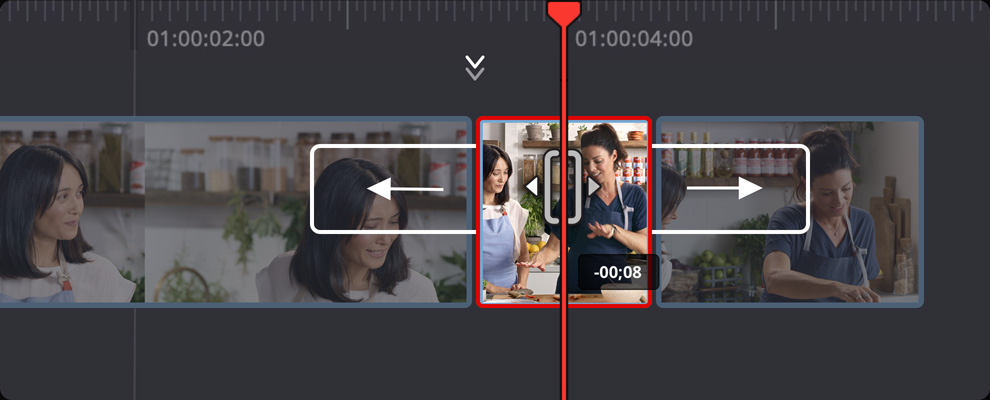
Quickly Trim Edits
Trimming edits in DaVinci Resolve is incredibly easy because the trim tools are automatically selected depending where you click and drag your mouse on the timeline’s edit points. Click and drag to either side of the edit to trim a clip. Then click the mouse in the middle of the edit to roll the edit point. If you’ve imported your ATEM SDI timeline, be careful not to ripple your edits so they aren’t out of AV sync! The cut page also has buttons to add and remove dissolves quickly. You can even add smooth cut transitions so the advanced AI algorithm will smooth and remove jump cuts. That lets you edit out presenter mistakes while keeping the action smooth and the edits invisible.
Improve Edit Flow
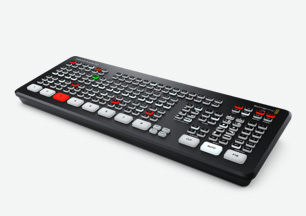
Live production can be chaotic so it means it can be hard for the switching to keep up with the fast moving action. Or sometimes you can even miss important shots. A good example is a live interview where guests are debating and it can be difficult to keep up with the person speaking. This means if you cut to a person after they start speaking, with editing it's easy to roll the edit points back in time. You can roll each edit point slightly back, allowing the camera to cut to a speaker just before they start to talk. This means you can make debates flow much more smoothly. Trimming edits on a DaVinci Resolve Editor Keyboard is even faster because you can trim live with the search dial!
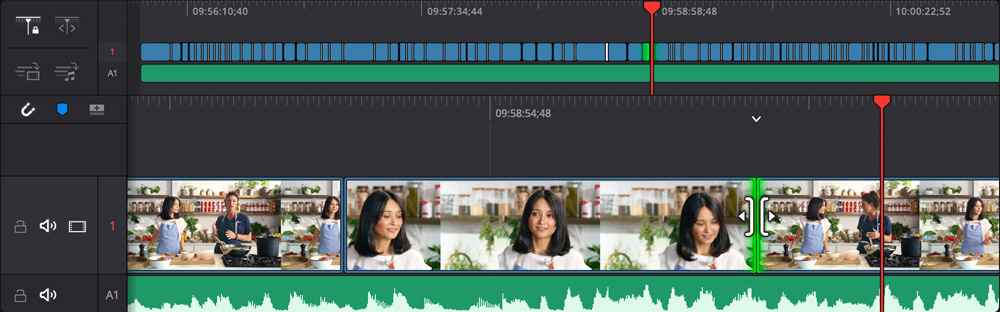
Browse and Add Interesting Shots
Finding exciting replacement shots is easy because you have access to every ATEM input’s recordings. Select source tape in the cut page to see all your clips loaded sequentially into the viewer so you can visually scroll through all your media! Now you won't miss any exciting shot! If you find an alternative shot, then use source overwrite to use it. Simply select source overwrite and the clip in the viewer will be added to the timeline automatically with timecode synced to the shot you want to replace. You don't even need timeline in and out points because source overwrite will edit the clips in sync. Simply scroll along your media and use source overwrite to add multiple exciting cutaways!
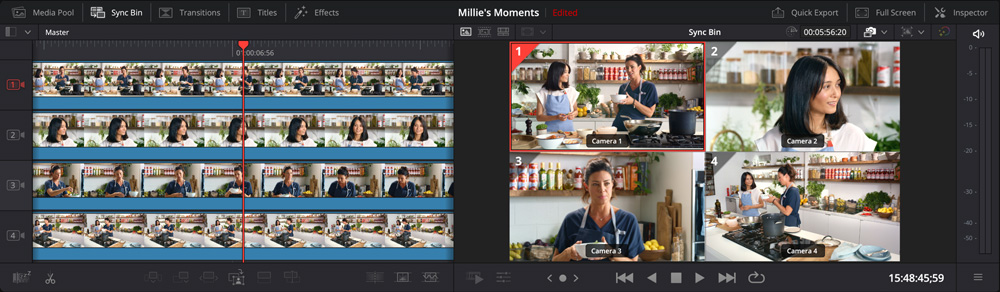
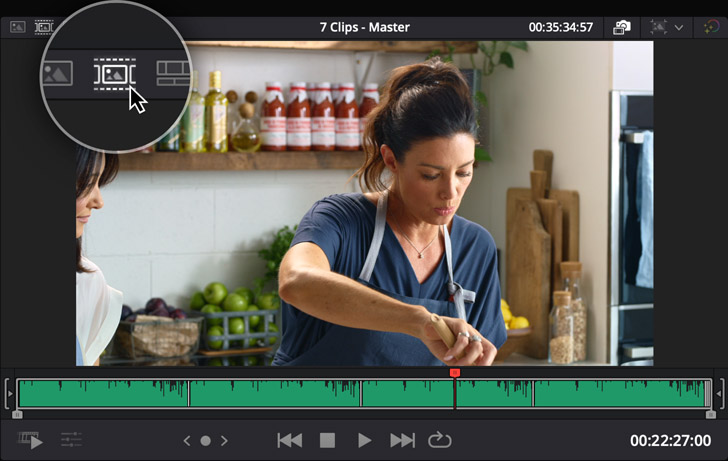
Perfect for DaVinci Resolve Sync Bin
DaVinci Resolve's cut page has a unique scrolling style of multi-cam called the sync bin. It works by showing only clips that are synced to the timeline and as you scroll the timeline, the available clips will be displayed for you. As all ISO clips have timecode, the DaVinci Resolve sync bin will take care of keeping all shots scrolling together in perfect sync. Clips are displayed in a multiview so you can select the shot you want by clicking on its view. The in point is automatically set and for the out point, just scroll along and then press O. Now select source overwrite to add the shot into the timeline. Sync bin makes adding cutaways easy as it works just like a switcher!
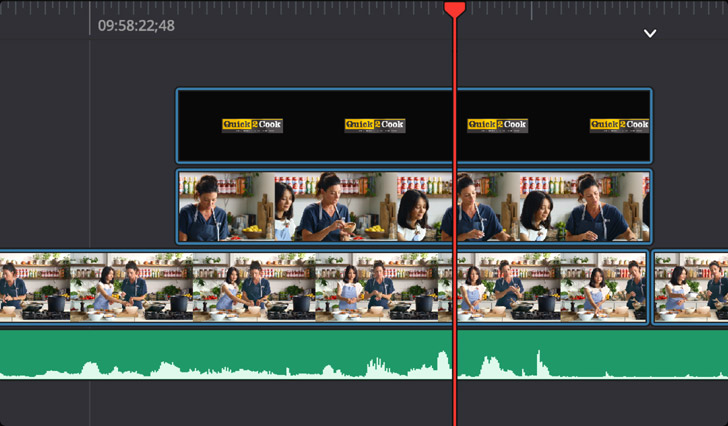
Includes ATEM Media Pool Images
When recording inputs, media pool graphics are also saved so your titles and stills are included in the edit when the timeline is opened. Only titles used in your live production will be saved, and they will be placed on layer two of the timeline if they're keyed titles, or layer one if media pool graphics were used as a video source. You can remove, change and localize titles because they are not baked into the edit! Because ATEM SDI only supports still frame graphics in its media pool, you can use the edit to change these still frames to animated titles! You can even update titles with new designs so you can renew your older work to make it look more modern. Or add 3D titles using Fusion!
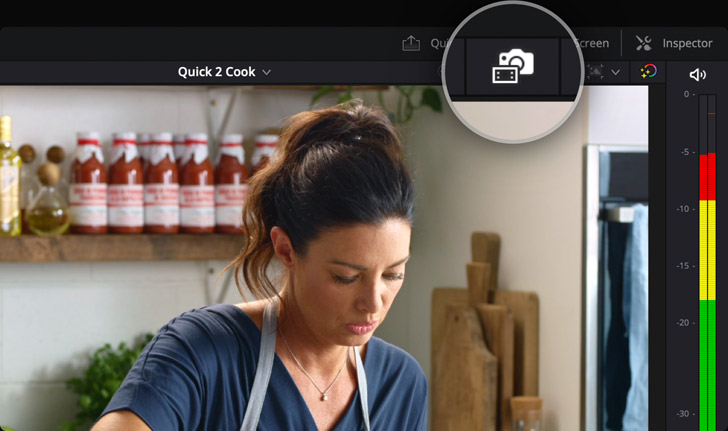
Relink to Blackmagic RAW Camera Files
If you're using Blackmagic Studio Camera 4K Pro, you can record Blackmagic RAW in camera and these files will also be in sync because ATEM SDI ISO models will upload metadata and timecode sync to the cameras via the SDI connections. This means you can change DaVinci Resolve to use the Blackmagic RAW files instead of the H.264 ISO files for higher quality. Blackmagic RAW files are film gamma so you can add creative color correction for cinematic looks. Plus because the files are 4K, you can change the DaVinci Resolve project to Ultra HD and get an Ultra HD edit from an HD ATEM SDI ISO switcher! Any non camera input, such as a computer, will be upscaled automatically!
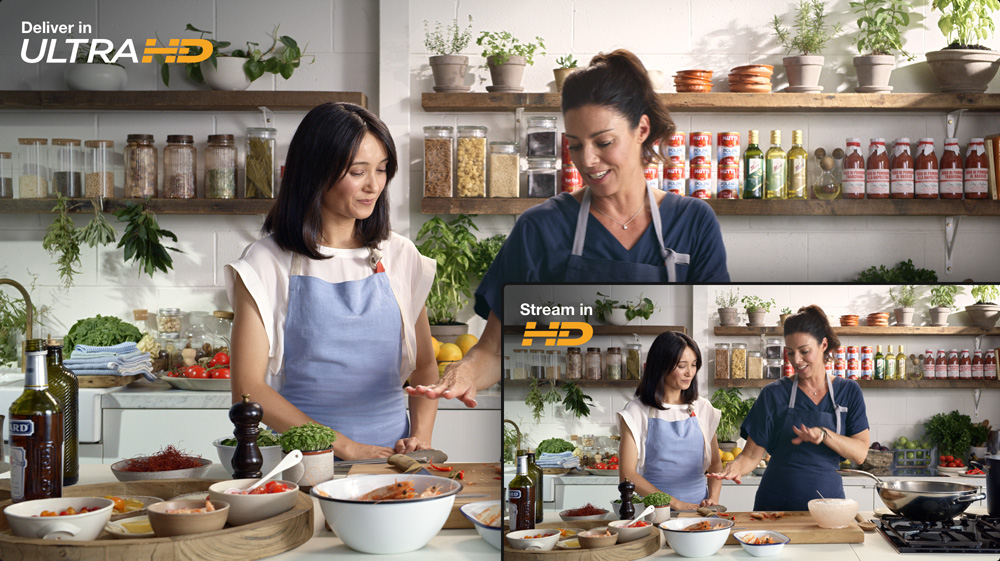
Create Ultra HD Programs with Blackmagic RAW
Blackmagic RAW allows a whole new world of creativity because you can stream in HD, but then deliver work in Ultra HD with incredible creative and cinematic color correction. Blackmagic Studio Cameras feature high resolution sensors and amazing low light performance. This means the Blackmagic RAW files will capture the greater range of the sensor, while the output of the camera is connected to your ATEM SDI for the live stream. Higher resolution also means you have added flexibility to reframe and zoom shots and you won't lose image quality because the files have so much extra detail. DaVinci Resolve will take care of all the work for you and let you deliver Ultra HD masters!
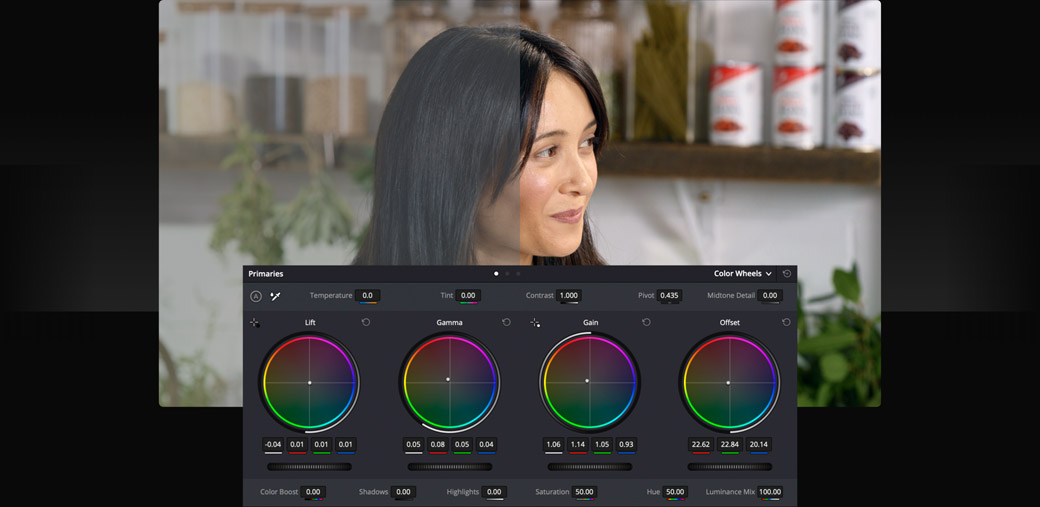
Original Footage
After Primary Color Grading
Add DaVinci Color Correction
DaVinci Resolve is Hollywood’s most popular professional color corrector and is used on more feature films than any other solution. The primary color corrector has familiar color wheels that let you balance the colors in the dark, midrange and highlight parts of your images. You can even add some extra contrast by setting specific shadow and highlight points. DaVinci Resolve has other controls that extend creativity such as highlight, pivot, color boost and more. If a camera moved when you needed it, then you can add stabilization! Plus secondary grading allows you to change any specific color. There's also curve grading, power windows with tracking, multiple corrector nodes and more!