Blackmagic OS Blackmagic OS

The advanced operating system designed for film and television!

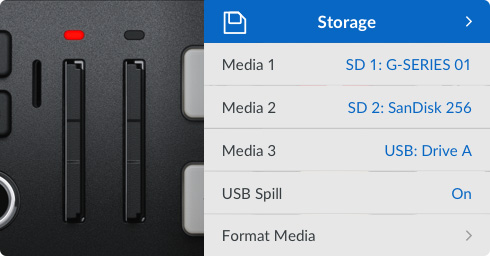
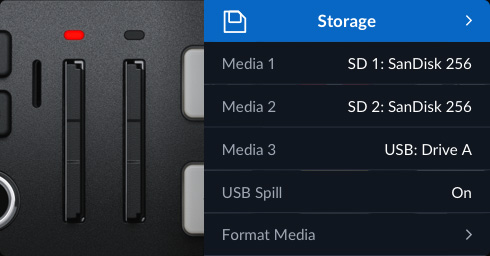
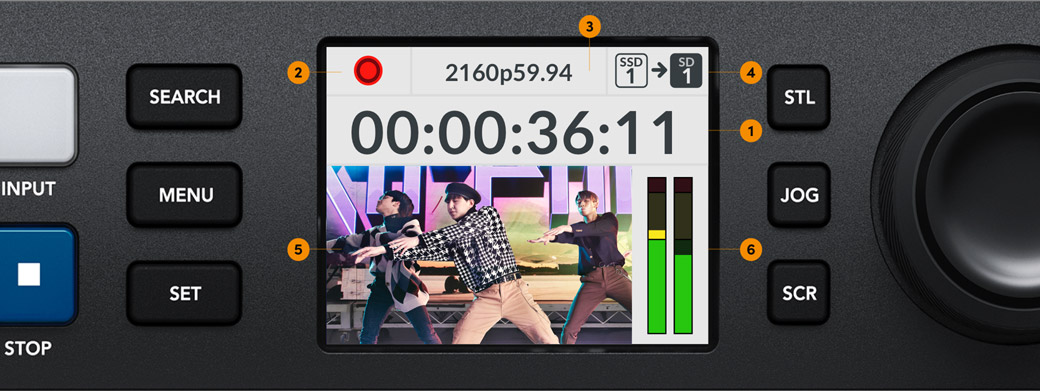
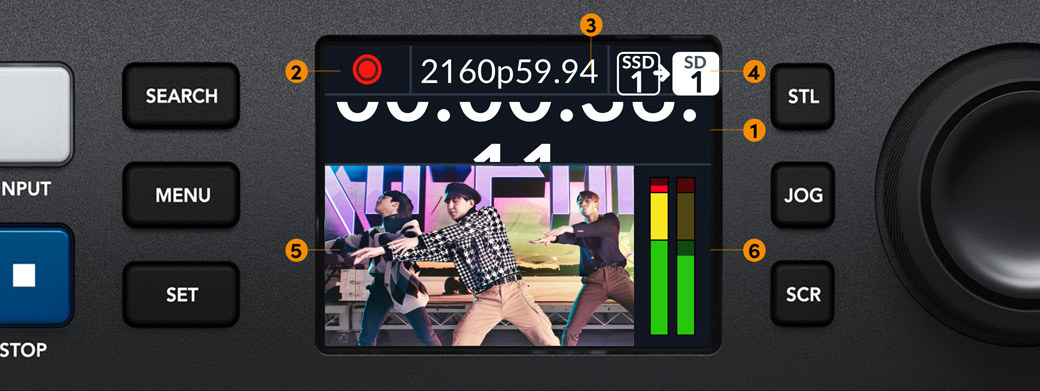
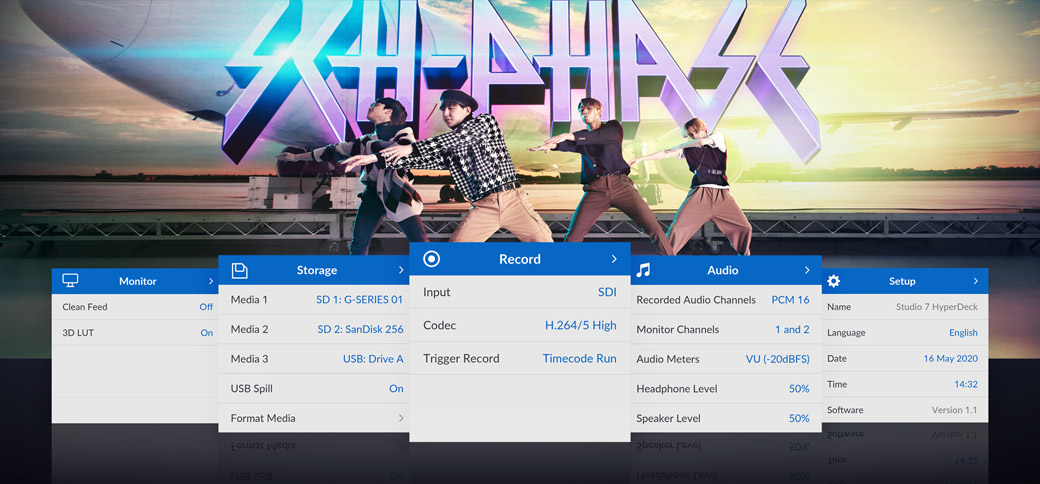
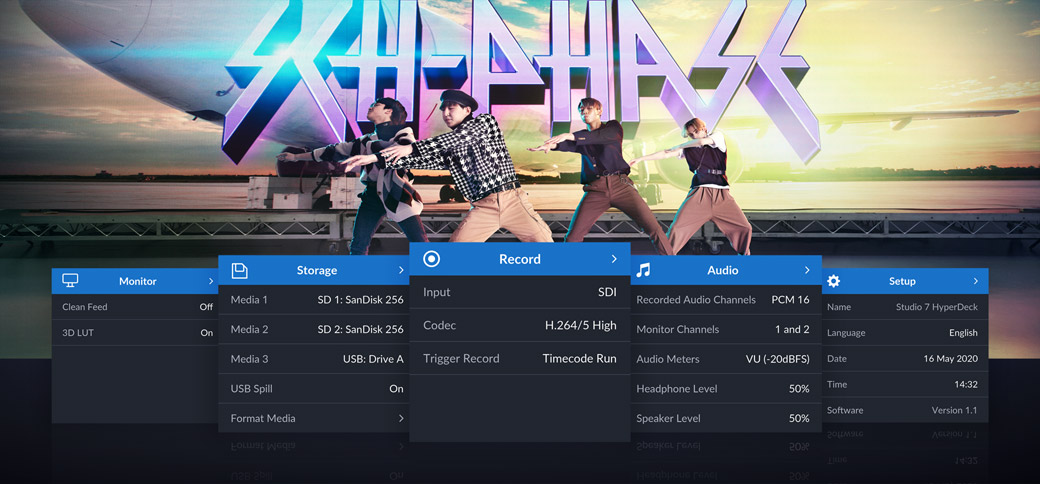
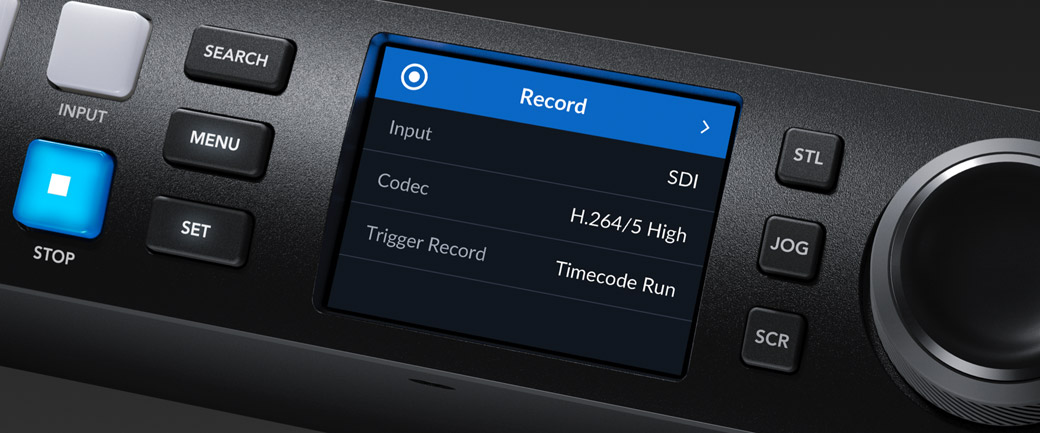
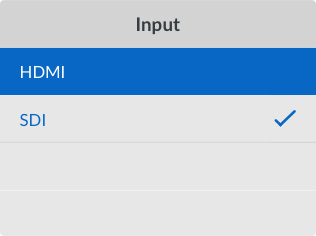
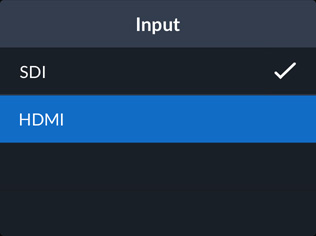
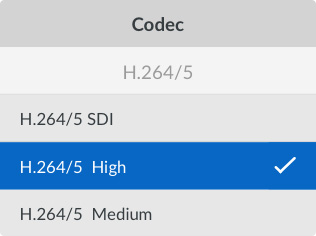
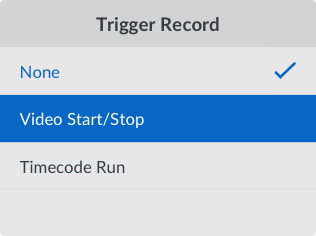
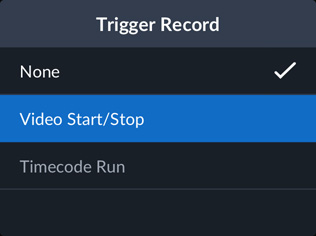
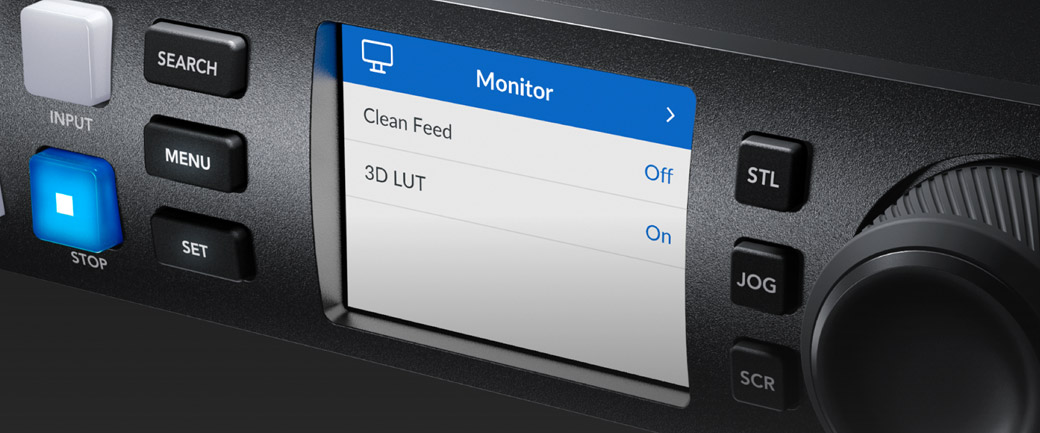
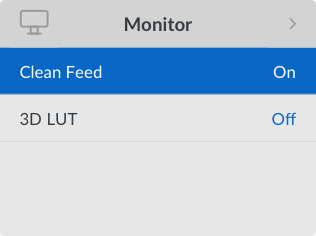
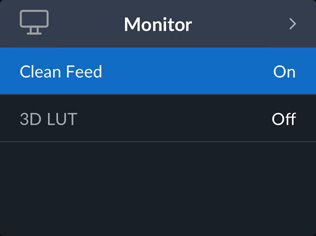
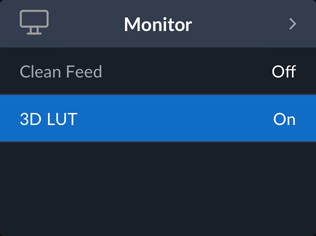
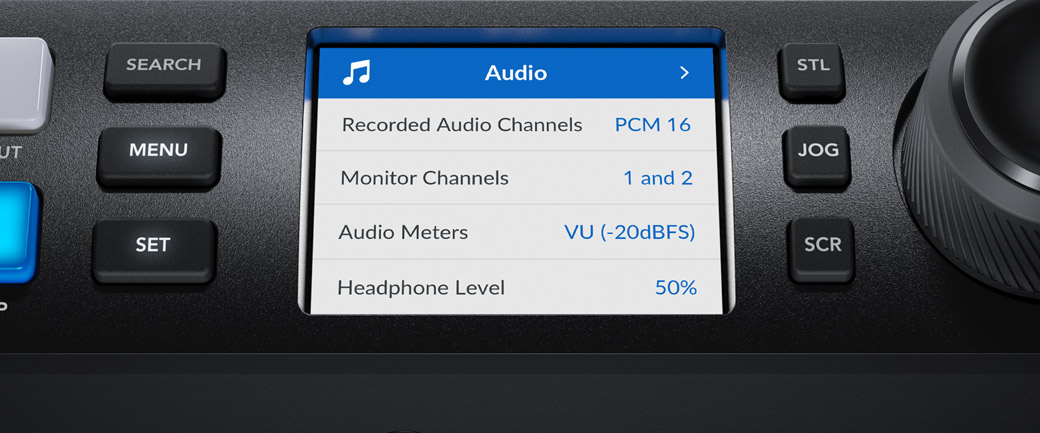
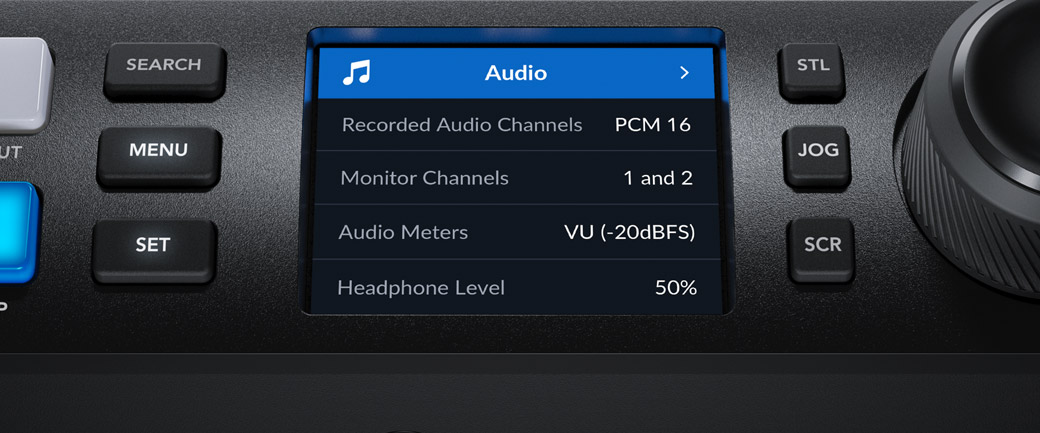
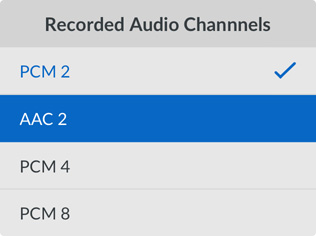
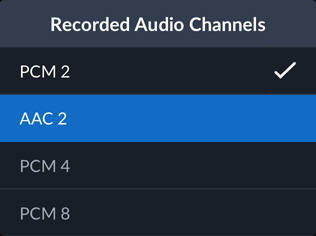
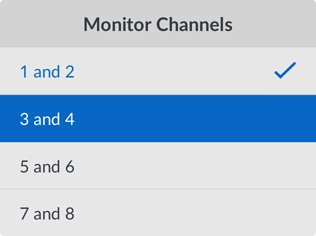
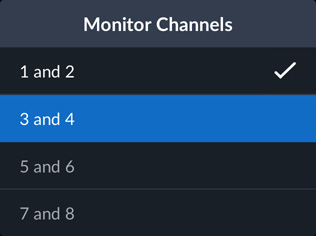
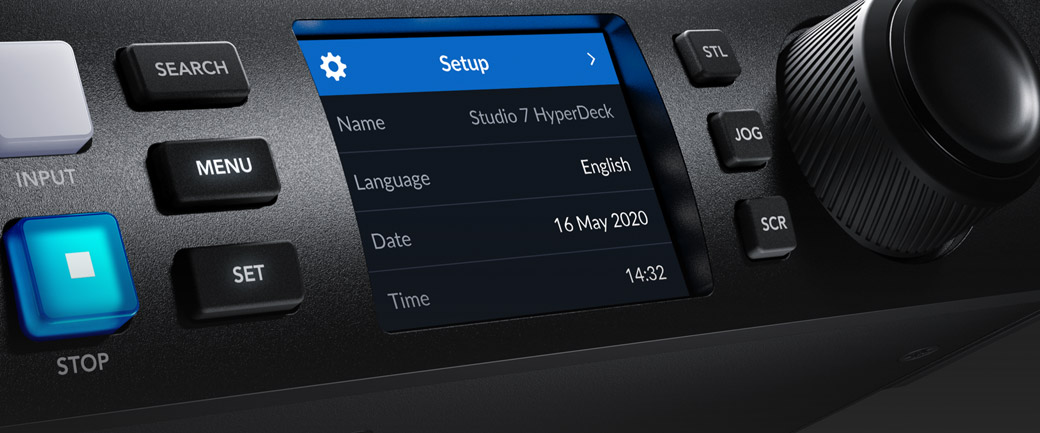
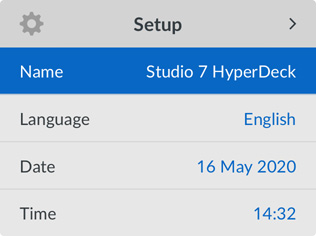
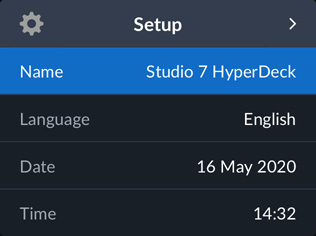
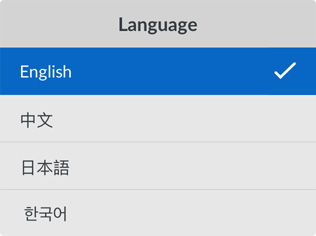
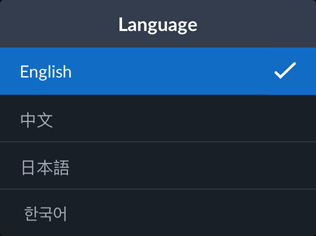
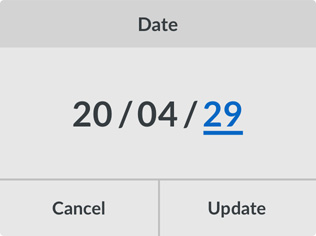
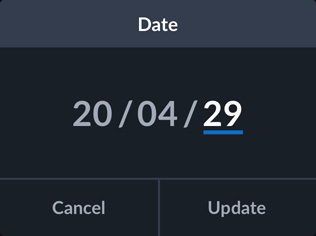
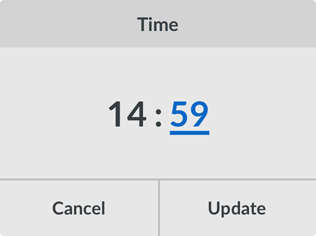
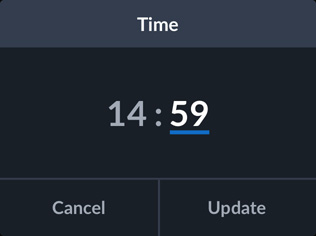
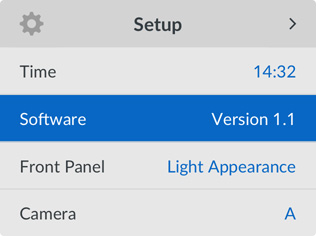
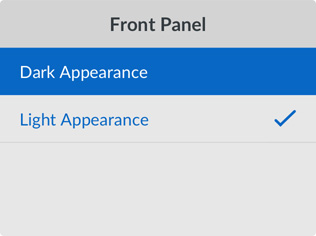
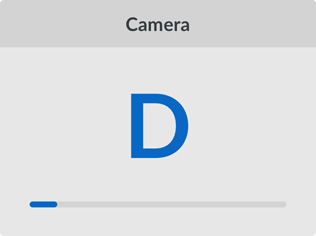
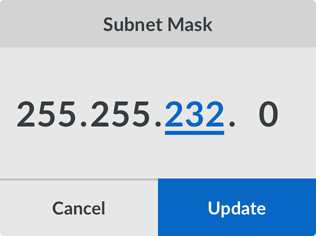
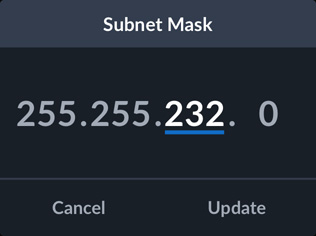
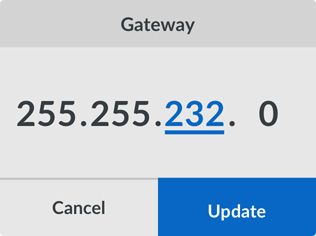
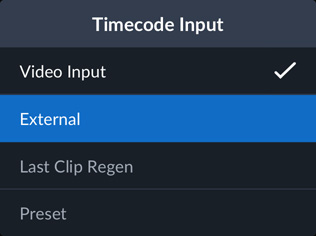
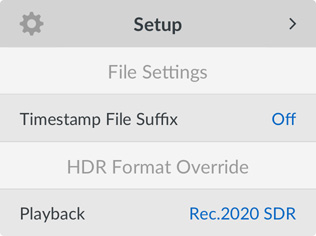
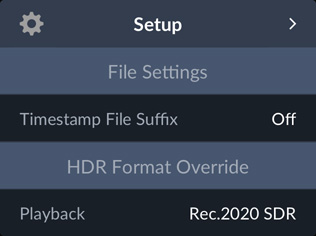
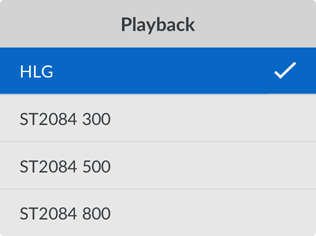
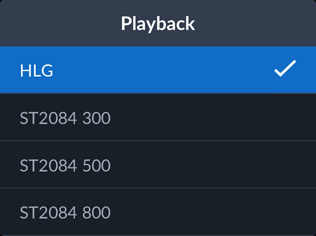
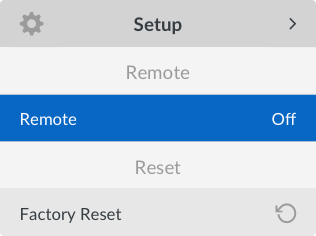
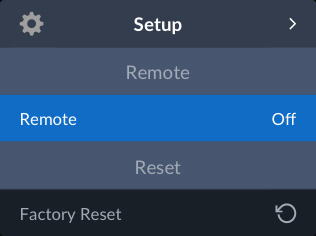
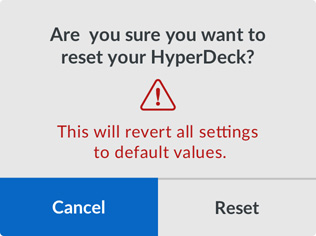
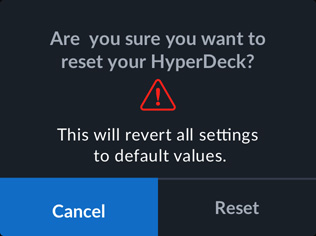
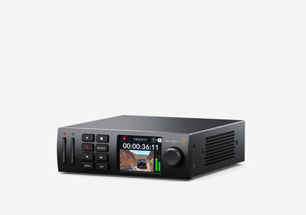
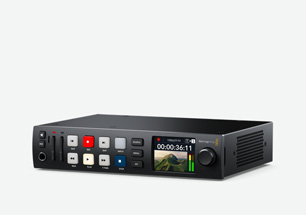
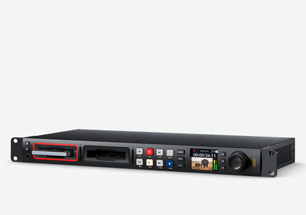
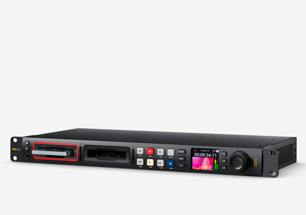
HyperDeck Studio features the same advanced Blackmagic OS software as used on Blackmagic Design's digital film cameras, so you get an advanced operating system that’s designed for the tough technical requirements of the film and television industry. All settings can be accessed with a single tap on the front panel menu button, so you can adjust all settings for recording, monitoring, audio, disks, setup and 3D LUTs. Each HyperDeck feature runs as a self contained app running on top of Blackmagic OS, so all functions feel smooth without feeling stalled or delayed, plus you get exceptional overall stability. Best of all, Blackmagic OS is upgradable so you can get more features in the future!

Status Feedback Status Feedback

Status Feedback

HyperDeck Studio includes a status LCD that shows you live video and audio meters, as well as including a range of status information. You can instantly see the video format with frame rate, status of record, playback and jog modes, plus the status of the active media slot and timecode!

Disk Management Disk Management

Disk Management

When you insert an SSD or SD card, Blackmagic OS will pre check the media to ensure it’s ok for recording. The slot will illuminate green while it’s checking the media. When recording the indicator will be red, and green when playing. You can also see the current record disk in the media menu.

External Monitoring External Monitoring

External Monitoring

On advanced models, Blackmagic OS provides a full live monitoring output with overlays showing record status. The most important HyperDeck settings are shown, including codec type, video standard, timecode, video source, the deck custom name, the transport status, card status and audio meters.

Network Services Network Services

Network Services

With HyperDeck Studio, you can access files remotely via a network using file transfer protocol, or "FTP". This means that you don’t have to remove media cards to transfer files to and from the HyperDeck, so it’s perfect for remote use. The incredible network performance means files copy fast!

Front Panel LCD Front Panel LCD

Front Panel LCD

1. Timecode

The LCD screen is dominated by a large timecode display. The display supports drop frame and non-drop frame timecode. If there's less than 3 minutes remaining on all disks, the timecode will slowly flash red to indicate recording is about to stop.

2. Status

On the upper top left of the LCD is the transport status. This indicator will show when the HyperDeck is in record, play, fast forward, rewind, shuttle, jog or scroll. You can also press the play button multiple times to loop playback.

3. Video Standard

At the top of the LCD is the video standard. It shows 525i59.94 or 625i50 for SD and 720p, 1080p or 1080i with frame rate for HD. The 4K model adds Ultra HD formats. As HyperDeck auto switches to record input video, this shows the standard used.

4. Disk Status

The disk status indicator on the top right of the LCD lets you see which disk is currently recording and what disk will be used next when the current disk is full. This means you can confirm recording will continue when inserting a new blank disk.

5. Video Preview

The main image on the LCD is a video preview, it’s a low resolution thumbnail view of the input video or the playback video. This lets you confirm the correct video input before recording, or for queuing playback clips right from the front panel!

6. Audio Meters

The right of the LCD shows a 2 channel audio meter showing the input or playback audio. The meters can be changed in the menu between different VU and PPM audio meter standards and will show the correct ballistics to the audio meter specifications.

System Menus System Menus

System Menus

Record

Record

The record menu is where the main video settings are for HyperDeck and they include input selection and codec choice. Codecs include ProRes, DNx and H.264. This menu also has options for triggering recording from the SDI video input status.

Monitor

Monitor

On HyperDeck models that include a dedicated SDI monitoring output, the monitor menu allows setting features such as clean feed and 3D LUT enable. The clean feed menu will remove all overlays from the monitor output. The 3D LUT can also be enabled.

Audio

Audio

The audio menu has settings for the number of audio channels to record, plus the VU meter standard and the headphone and speaker volume levels. The audio meter selection can be PPM or VU. For convenience the headphone and speaker levels are separate.

Storage

Storage

The storage menu lets you see the next disk used for recording. That's important because some HyperDeck models have 4 separate media slots plus multiple external USB disks. You can even browse and select USB disks. Plus you can also format disks.

Setup

Setup

The setup menu lets you totally customize your HyperDeck. You can use this menu to change languages, set date and time, change between light and dark mode, update network settings, change reference timing, change HDR settings and more!

Record Menu Record Menu

Record Menu

Input Input

Input

The input menu selects either HDMI or SDI sources for recording. You can also press the input button on the front panel to change between HDMI and SDI sources without going into the menu. Plus you can see the input selected on the monitoring out!

Codec Codec

Codec

The codec menu lets you select ProRes, DNxHD or H.264/5 codecs. The H.264/5 codec label means HyperDeck will auto change to H.264 for SD/HD recordings and H.265 for Ultra HD. The H.264/5 SDI setting records full 10 bit 4:2:2 to match SDI quality.

Trigger Record Trigger Record

Trigger Record

The trigger record menu allows the recording to start based on the video input. This menu allows HyperDeck to watch the video input. When it gets an SDI start/stop flag, it starts recording, or you can even record when the timecode starts counting!

Monitor Menu Monitor Dark Menu

Monitor Menu

Clean Feed Clean Feed

Clean Feed

Some HyperDeck models have a dedicated HD monitoring output and the clean feed setting ensures all overlays are removed to make the output clear of all graphics. This means you can use the monitoring output as an extra down converted video output!

3D LUT

3D LUTs are used to adjust the color of the output so a director or cinematographer can see a certain "look" while shooting. LUTs are also extremely useful for converting RAW gamma to video gamma. This setting allows enabling or disabling the 3D LUT.

Audio Dark Menu

Audio Menu

Record Audio Channels

This menu lets you select how many audio channels to de-embed from the video input. You can select 2, 4, 8 or 16 channels. Selecting 2 channels often helps with software compatibility. The meters on the monitoring output will match the channel qty.

Monitor Channels

This menu lets you select what channels to use when monitoring audio using the headphones or speaker on the front panel. You can select any pair of SDI audio channels, limited only by the number of channels selected for recording.

Audio Meters

This setting lets you change audio meters on the front panel LCD and on the monitoring output. This sets the meter ballistics and levels. Options are VU-20 dBFS, VU-18 dBFS, PPM-20 dBFS and PPM-18 dBFS. The default is VU-20 dBFS as defined by SMPTE.

Headphone Level

This menu sets the volume on the front panel headphone connection. You can adjust this without headphones connected. However with headphones connected, you can adjust volume by holding the speaker button while rotating the search dial.

Speaker Level

The speaker volume can be adjusted using this menu. Press and hold the speaker button to listen, or double press to lock on. Without any headphones connected, you can adjust speaker volume by holding the speaker button and rotating the search dial.

Storage Dark Menu

Storage Menu

Media 1

The media 1 menu lets you see which media card you will use for recording. Normally media 1 is just the left most SD card slot on the front panel, however on the HyperDeck Studio Pro models that feature 4 media slots, this becomes the current disk.

Media 2

Normally media 2 is just the right SD card slot, however on HyperDeck Studio Pro, media 2 is the next disk that will be used for recording. This means you can quickly see which of the 4 cards will be used when the current card is full.

Media 3

If you connect multiple disks to HyperDeck Studio using a USB hub, this menu lets you set the record disk. If you connect a Blackmagic MultiDock, this menu lets you select which disk to use.

Format Media

The format menu allows you to erase and format a media disk. This means you don't need to move the media to a computer to format it, as you can do it from the HyperDeck Studio! Disks can be formatted to HFS+ for Mac or ExFAT for Windows and Mac.

Setup Dark Menu

Setup Menu

HyperDeck Name

This menu shows you the custom HyperDeck Studio name. Custom names allow identifying multiple HyperDecks! You can set the custom name in the utility software on Mac or Windows. Examples of custom names could be Deck 1, Deck 2, or even camera numbers!

Language

The language menu lets you set the language used in the menus and on screen overlays on the monitoring output. You can change to English, Chinese, Japanese, Korean, Spanish, German, French, Russian, Italian, Portuguese, Ukrainian, Polish and Turkish.

Date

The date menu lets you set the date in the HyperDeck Studio real time clock. It’s important to set the correct date so when you record files, the file date will be correct on the media disk.

Time

The time menu lets you set the time in the HyperDeck Studio real time clock. The time is also used when creating files when recording. Plus the real time clock is used to calculate time of day timecode in the timecode generator.

HyperDeck Software

The software menu lets you know the HyperDeck Studio software version. You can update the software using a computer connected via USB or Ethernet. We often release updated software with new features, so this menu lets you know you are up to date!

Front Panel Display

The appearance menu lets you set the LCD to light or dark mode. Light mode will use a light background with dark lettering, while dark mode will use a dark background with white lettering. Dark mode is great when working in dark control rooms!

Camera Number

The camera number allows you to select a camera number for the metadata camera# tag in the recorded files. Entered as a letter, this allows software to detect between cameras, such as when using the Sync Bin in DaVinci Resolve for multi-cam editing.

Network Protocol

The network protocol menu is how the HyperDeck will connect to the Ethernet network. You can choose DHCP where the HyperDeck will get assigned an IP address automatically, or static IP where you can set the network address manually.

Network IP Address

The IP address will be set automatically if you are using DHCP in the network protocol menu. If you are using DHCP, this is the assigned IP address, however if you have static IP, this menu is where you enter the address manually.

Network Subnet Mask

The subnet mask setting is a technical setting and lets your network administrator create a logical subdivision of your IP network. You don't need to change this setting if you are using DHCP, or you can enter in a value if using a static IP.

Network Gateway

The gateway is the address of a computer or network router on your network that forwards data to other networks, such as the internet. This setting is assigned automatically when set to DHCP, or you can set this value manually when using static IP.

Timecode Input

The timecode input is the source used when recording video. The video input setting can use both SDI and HDMI timecode sources. Or you can use the external timecode input connection, the end of the last recorded clip, or a specific preset value.

Timecode Preference

The timecode preference lets you use either drop frame or non-drop frame timecode. When set to drop frame, the LCD timecode will change to use semicolons. Drop frame timecode is used for correct time of day timecode when using 59.94 fps standards.

Timecode Preset

This menu lets you manually enter the timecode to use for recording. This means you can preset the timecode generator to a specific time before recording starts. Most broadcasters start recordings at 1 hour timecode, but you can use any time!

Timecode Output

The timecode output menu will change how the HyperDeck Studio embeds timecode into the SDI video output. Normally you get a constant timecode out for the whole playback, however changing this menu lets you use the timecode in each playback clip.

3G‑SDI Output

The 3G-SDI output menu lets you change the format of the SDI video between level A and level B. This only applies when using 3G-SDI as this video standard has two different ways of encoding the video into the SDI connection.

Reference Source

Reference source selects where the internal timecode generator gets its time value from. The default setting is input and any timecode connection plugged in will automatically lock the timecode generator. External gets timecode from the video input.

Reference Timing Lines

Reference timing is used by large broadcasters who need to get the HyperDeck video syncs in the SDI output phased to match other video sources in large studios. This setting will shift the timing by whole lines.

Reference Timing Pixels

Like the reference timing setting for lines, this setting will also shift the video output vs the reference input by single pixels. This pixel adjustment is a very fine adjustment used to get the SDI output reference timing absolutely perfect.

Timestamp File Suffix

Lets you enable an additional timestamp to be added to the end of the recorded file name. This setting is off by default. If you would like the date and time added to your file name, simply turn this setting on.

HDR Playback

This setting allows you to automatically detect and output HDR information onto the SDI output from the playback file tags. Or if there is a problem with the files tags, you can override the HDR setting with this menu.

HDR Record

If the HDR flags in the input video are not correct, then you can override the bad HDR information for recording. Normally the video input HDR flags are used in the auto setting, but you can also manually override the HDR flags for the recorded file.

Remote Light UI Screen Remote Dark UI Screen

Remote

This menu sets the remote on and off. When off, deck control from Ethernet and RS-422 will be blocked. The advanced models also have a button for this setting on the front panel! When off, you can still read deck status, as only control is blocked.

Factory Reset

The factory reset button is used to return all the HyperDeck Studio settings back to their default values. This is great when someone has changed settings and you want to return all the features back to a known state for your next job.

Next Page - Multicam

Next Page

Multicam

Learn more about Multicam Arrow

Learn more about Tech Specs Arrow

HyperDeck Studio

New
HyperDeck Studio HD Mini

HyperDeck Studio HD Mini

Miniaturized deck records H.264, ProRes or DNxHD files onto SD/UHS-II cards or external USB disks in SD/HD formats to 1080p60. Includes timecode and reference generators, 3G-SDI in/out and HDMI out.

3.550 kr.

Buy Now
New
HyperDeck Studio HD Plus

HyperDeck Studio HD Plus

Includes features of the Mini model plus better transport controls, front panel headphone and speaker, 6G-SDI and fill and key out. Supports all codecs up to 1080p60 and ProRes and DNxHD to 2160p30.

4.900 kr.

Buy Now
New
HyperDeck Studio HD Pro

HyperDeck Studio HD Pro

Includes all the features of the Plus model, and adds 2 SSD slots as well as the 2 SD card slots. Also includes machined metal search dial with clutch, SDI monitor out and XLR timecode connections.

7.000 kr.

Buy Now
New
HyperDeck Studio 4K Pro

HyperDeck Studio 4K Pro

This extremely powerful Ultra HD model records and plays H.264/5, ProRes and DNx files in all SD, HD and Ultra HD standards up to 2160p60. Records SD and HD in H.264 and Ultra HD in H.265.

11.250 kr.

Buy Now
Blackmagic Universal Rack Shelf

Blackmagic Universal Rack Shelf

Build a custom 1RU solution with Blackmagic Universal Rack Shelf. Mix and match 1/3 and 1/2 rack width Studio Converter, ATEM, HyperDeck Studio, Web Presenter, Teranex Mini and UltraStudio products.

700 kr.

Buy Now